Continuing on the conversation of cycling biomechanics, here's an introduction to training with torque. It’s a training metric that most cyclists seldom use, but it can help add another layer of depth to your cycling performance if done right.
What is torque?
In the context of cycling, torque is the rotational force you apply to the pedals - calculated by the force you exert on the crank multiplied by the length of your crank arm. So the longer the crank arm, the greater the torque; equally, the more force you exert on the pedals, the greater the torque.
We will assume for this blog that your crank arm length remains consistent. But if you are unsure of what crank length suits you, check out our previous blog.

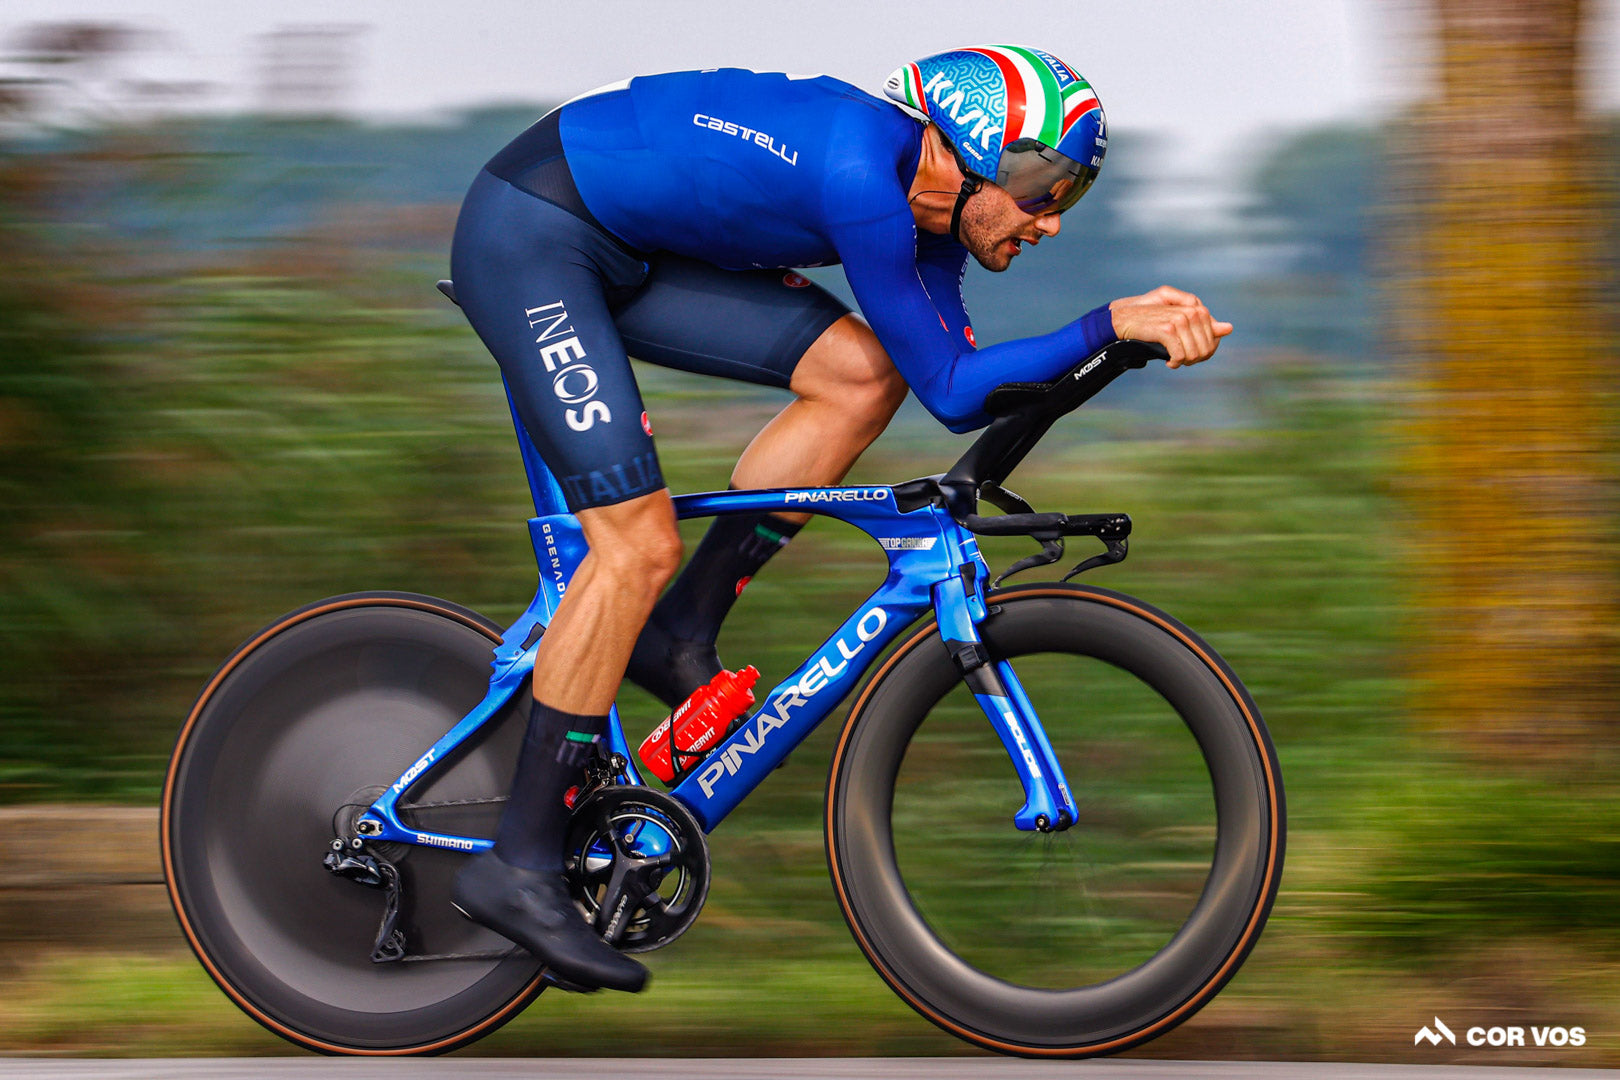
Photo: Optibike
Why is it important?
If you can increase the torque you’re able to produce for a given cadence, your power output will be higher. Simple.
This is explained by the torque-velocity relationship: torque x angular velocity (cadence) = power. Obviously, having more power at your disposal is exactly the outcome we desire from our training sessions. Regardless of whether you are training to drop your friends on a cafe ride or win a UCI race, more power means faster cycling. Generating high amounts of torque on the bike does not come naturally however; you must train it to improve.

Photo: Cycling tips
How might I generate more torque I hear you ask…
If you have a power meter and head unit that can display torque then great, head to the hills and perform high torque, low cadence intervals. Always start modestly, to allow your body to adapt. A good starting point is 4 minute intervals at 1 Nm per kilogram of body weight. You can then increase the duration of intervals up to 10 minutes and torque up to 1.5 Nm/kg. There is no need to be completely broken by the end of your workout, leave at least one interval in you to minimise the risk of overuse injuries.
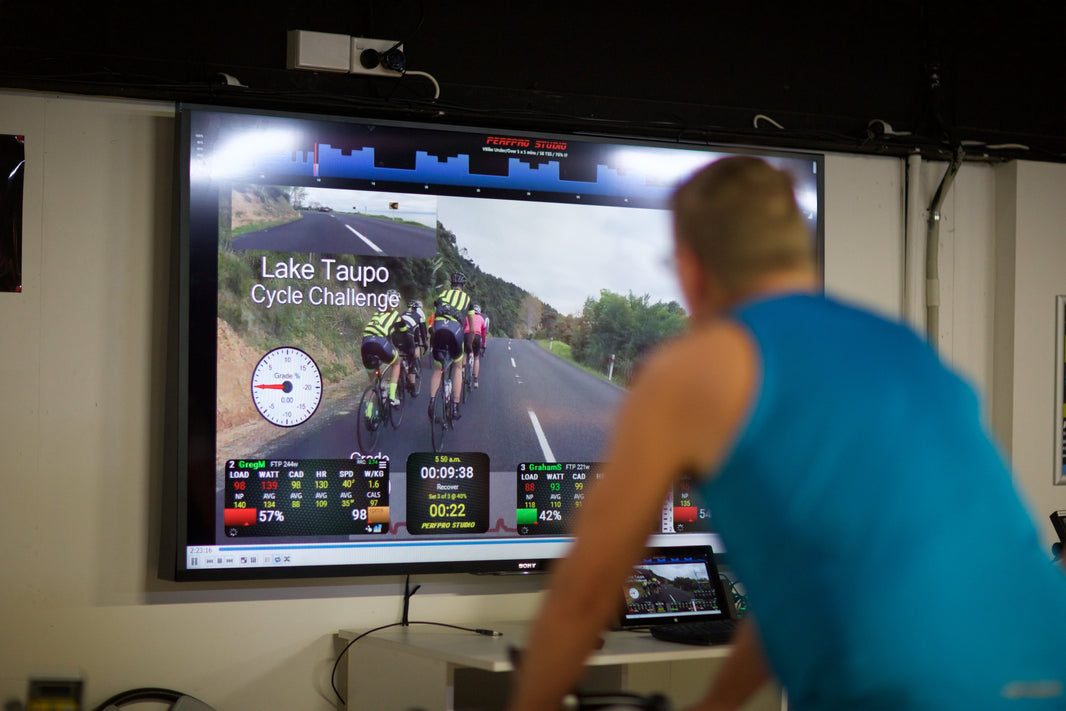
At our studio we have a catalog of workouts focused on improving torque generation. Depending on your level, it can be anything from riding at 60 RPM for 1 minute bursts in zone 3 to 10 minute blocks of 30-40 RPM at sub threshold.
The key is to be riding at a low cadence so that you develop more neuromuscular pathways. The more you do it, the better your body handles the torque because you’re adapting to the stress you are putting yourself under.

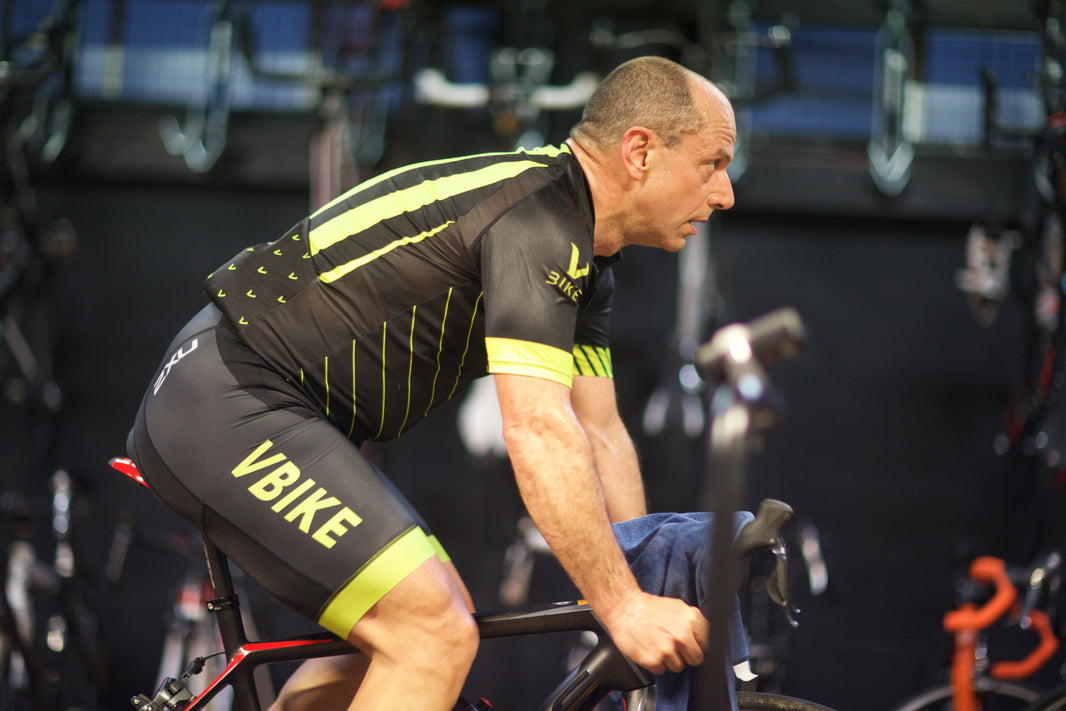
Photo: VBike studio
What are the physiological effects?
As mentioned above, developing neuromuscular pathways are the biggest win from these sessions. Robustness and pedaling efficiency are also improved. You will gain some strength, but if you really want to increase muscular strength you’d be better off hitting the gym to place more load on your legs and then introduce high torque intervals on the bike once you're happy with your foundations.
Are there any downsides?
Care must be taken when training with high torque because there is more stress on your joints. What’s interesting is that the toque you generate on a bike is much less than squatting weight in the gym. The difference, however, is that on the bike you are fixed and constrained by your bike position and cleats. That’s why you hear about riders having sore knees from on-the-bike strength training much more than when using free weights in the gym. It’s for this reason a good bikefit is critical.
Here are three examples of high torque workouts for you to try:
- Turn the legs over at a low cadence in zone 3 for 4 x 8 minute intervals
- Find a long climb and at a low cadence, alternate 2 minutes seated followed by 30 seconds out of the saddle, for 10 minutes. Repeat 2 more times.
- 10 over-geared accelerations. From a near standing start, accelerate hard for 6 pedal revolutions.
As always, feel free to reach out if you have questions on the topic, want to discuss a training program, or arrange a bike fit.


1 comment
How do low-cadence, high-torque intervals—like 30–40 RPM at sub-threshold—build cycling strength without crossing into excessive fatigue?
dce